Valentine’s Day Crafts for Kids: 5 Easy Projects Using Supplies You Own Now
This post contains affiliate links. Read our affiliate disclosure here.
If you’re looking for last-minute Valentine’s Day crafts for kids, look no further than your own home for supplies! You likely already own the supplies needed to create these crafts. Plus, you can make some pretty cute art projects with just paper, crayons, glue, and other household essentials. The crafts below can all be modified for most children’s skill level, with adult supervision and support where necessary. In cases of very young children, an adult should prep and cut all pieces ahead of time. These crafts can be given as cards or gifts to friends, siblings, parents, or grandparents.
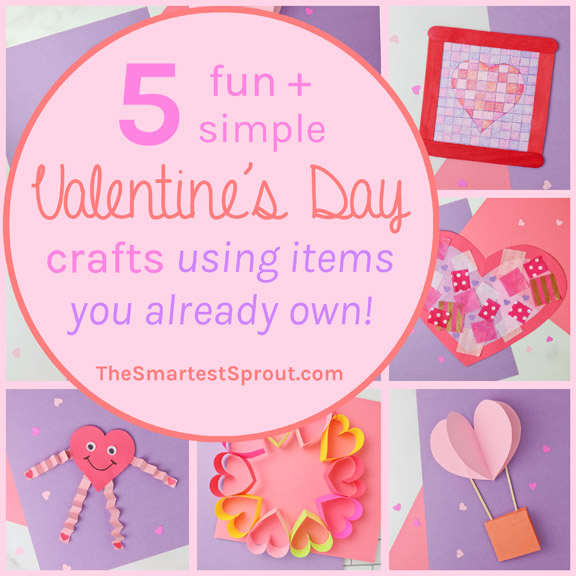
Valentine’s Day Suncatcher Craft for Kids
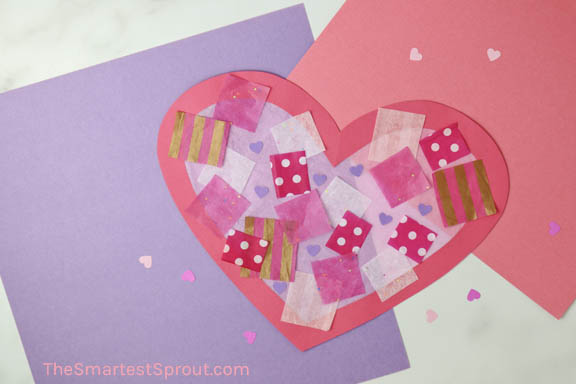
Heart Suncatcher Instructions
- Cut out a large, hollow heart from a piece of construction paper.
- Using a glue stick, glue a piece of tissue paper to the back of the heart and trim the edges. (Light colors work best)
- Cut out lots of square pieces of tissue paper, using as many fun colors and patterns as you’d like.
- Using a heart hole punch, create tiny heart shapes out of regular cardstock (optional).
- With a glue stick, glue the tissue paper squares and heart shapes onto your large tissue paper heart wherever your little one desires.
- Hang on a window and enjoy!
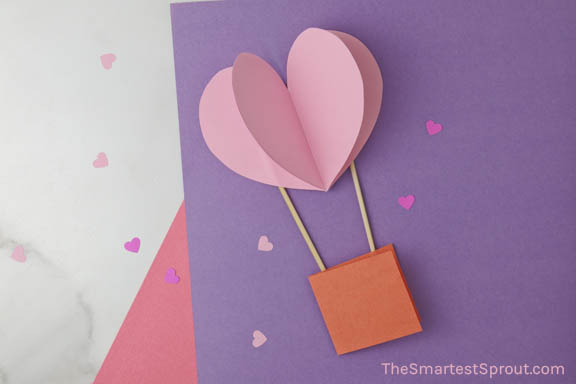
Valentine’s Day Hot Air Balloon Card for Kids

Heart Hot Air Balloon Card Instructions
- Cut 4 identical hearts from a piece of cardstock.
- Using a glue stick, fold in half and glue 3 heart backs together so they open up like book pages, leaving the ends un-glued.
- Glue the 4th, unfolded heart to the back, to keep the back flat.
- Cut one rectangle from cardstock and fold in half to make the hot air balloon basket. By folding it in half, the “basket” can be used as a card. Write your Valentine’s Day message in the card before moving on to the next step.
- Find 2 age-appropriate stick-like objects to connect the basket to the heart air balloon. Ideas include wooden craft sticks, wooden-cabob skewers (trimmed for safety), straws, etc.
- Give this unique and thoughtful card to your loved one and watch their heart fill up with joy!
Valentine’s Day Mosaic Craft for Kids
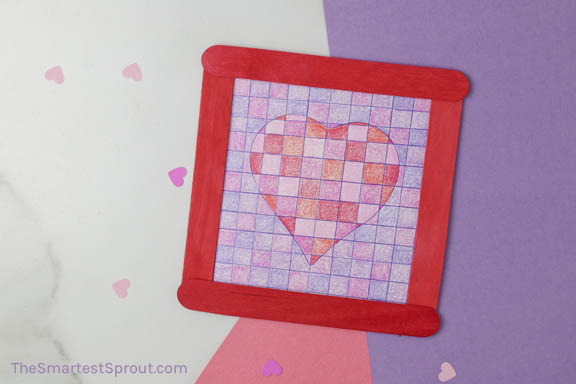
Easy Heart Mosaic Instructions
- Using a ruler on a piece of white paper, create a grid with a pen or permanent marker. For best results, the younger the child, the larger the squares in the grid should be.
- Using a heart stencil or drawing free-hand, draw a large heart in the middle of the grid.
- Give your child a selection of colors to color in the heart shapes, and a different selection of colors to color in the background shapes. As you can see in the example, red shaded crayons were used to color in the heart and purple shaded crayons were used to color in the background.
- Create a frame using jumbo colored popsicle sticks and glue (optional). If you would like to frame your masterpiece with popsicle sticks, be sure to pre-measure the size of the grid ahead of time to fit within the size of the frame. Trim to size.
- Use as Valentine’s Day decor or give as a gift. You may also write a Valentine’s Day note on the back for an extra-special touch!
Valentine’s Day Paper Heart Friend
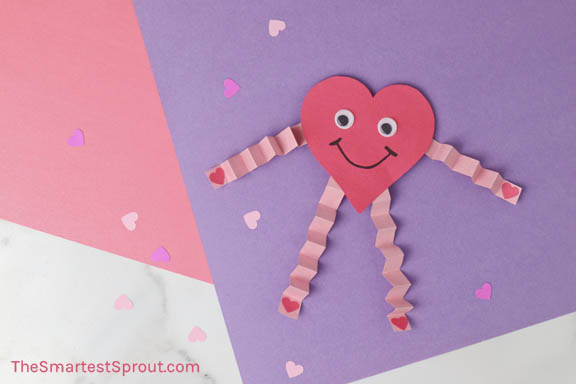
Friendly Paper Heart Instructions
- Cut out a heart from a piece of cardstock or construction paper.
- If your child wants to draw a face on their heart, I suggest doing that at this time. Googly eyes are optional.
- Cut 4 long strips of paper and fold them into a zig-zag pattern.
- Tape the paper strips to the back of the heart, creating the arms and legs.
- Using a heart hole punch, punch out 4 hearts to glue at the ends of the arms and legs to make hands and feet.
- Enjoy your heart buddy as a new special friend or give as a gift!
Valentine’s Day DIY Heart Wreath
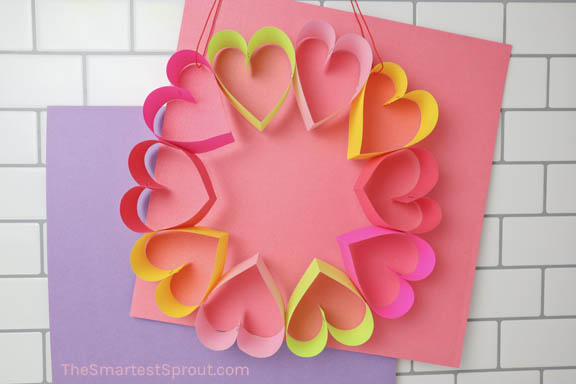
DIY Heart Wreath Instructions
- Cut out 10 strips of cardstock paper, approximately 11″ long by 1.5″ wide.
- Fold each strip in half, then curl the unfolded ends inward creating a heart shape, stapling the ends together.
- Lay all heart shapes on a table, forming a wreath.
- Staple all heart shapes to their neighboring pieces, in the location that they touch during layout.
- Attach a string to two hearts, 2-4 spaces apart.
- Hang and enjoy!
Other Articles You May Enjoy:
Share This Page on Social Media:
Let’s Be Friends
Follow The Smartest Sprout on Facebook and Instagram! Discover the latest parenting tips, activity ideas, and more! Plus, get deal alerts on our favorite educational toys and healthy family essentials!

